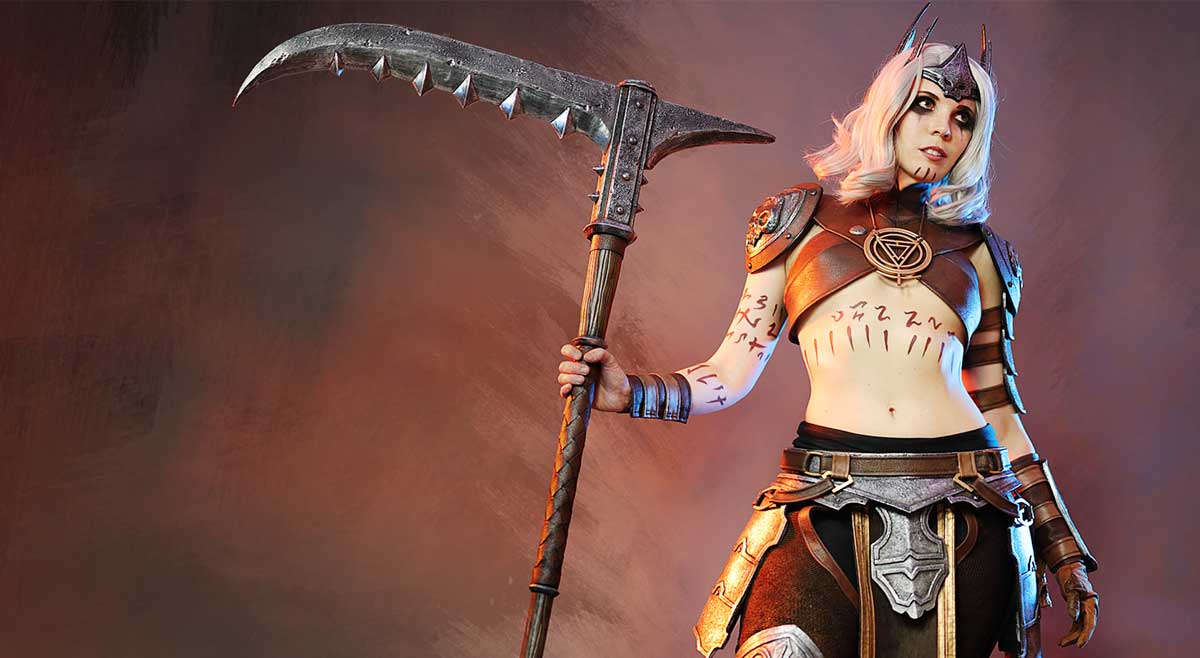
I made a fully Necromancer cosplay from Diablo IV in just two weeks and it was insane! Playing World of Warcraft since 2005, I was always a huge Blizzard fan. In last 20 years, I cosplayed already over 20 characters and armor designs the franchise. So, I was obviously very excited when the devs asked me to create something cool for the release of Diablo IV as well!
As I was already quite busy with other projects, I had only 2 weeks weeks for the projects. Still, it wasn’t an option just to build an awesome weapon or a cool prop – I needed a full costume! I knew, this would be a crazy idea, especially since we were also in the middle of a move to a different country. However, I was just too hyped for the game! The Necromancer was an amazing looking class and I instantly felt in love with the character and armor design.
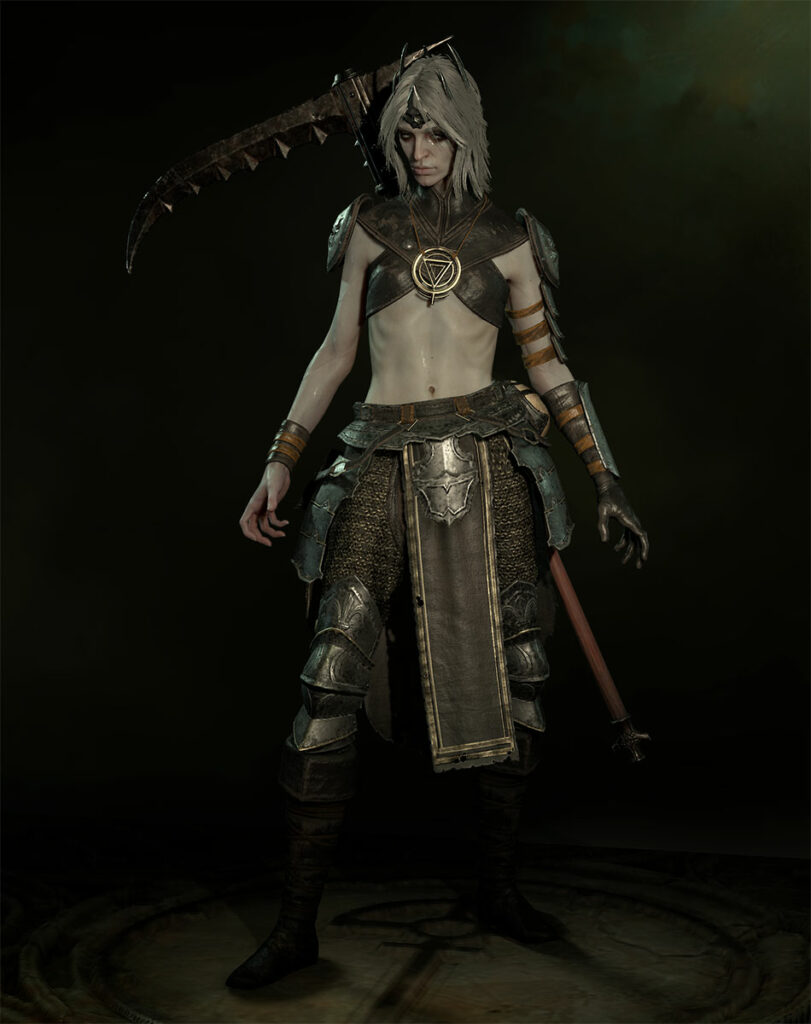
While the game wasn’t out back then, the devs from Blizzard provided me with some great reference images to start crafting. I’ve picked a specific armor and weapon combo and chose the hair, tattoos, etc. and got an amazing rendering back. I guess, every cosplayer can only dream of such a service from a game studio!
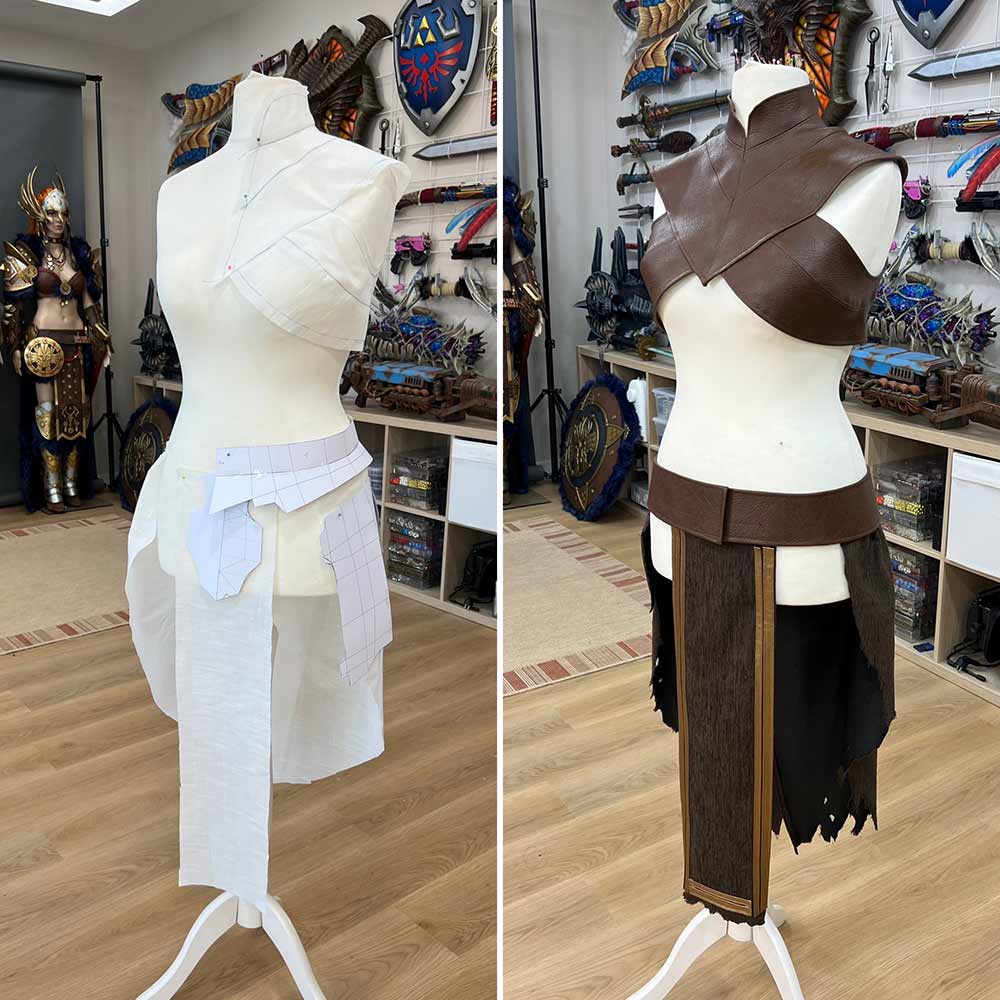
Afterwards I’ve started directly with the costume. I first covered my chest in duct tape, draped the skirt part with linen fabric and designed the armor parts with paper dummies. This way I got a rough idea of the overall costume and could adjust shapes and sizes of each part quick and easy. Luckily I found then all materials I needed quite easy in a few local fabric shops. For the leather part I’ve used thick, brown furniture pleather and the skirt was supposed to be done in heavy curtain fabric.
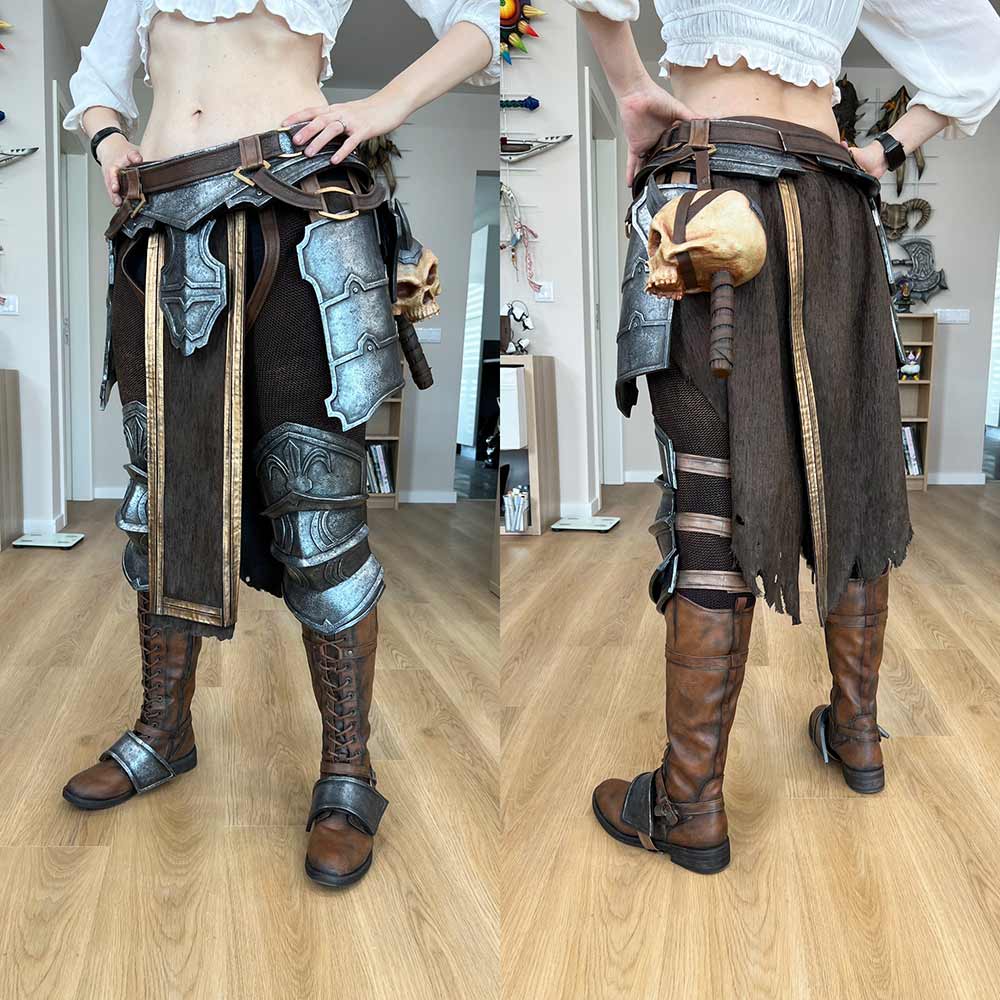
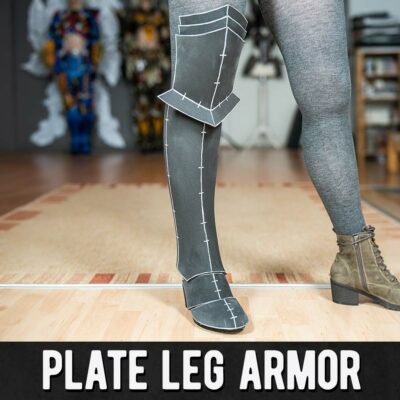
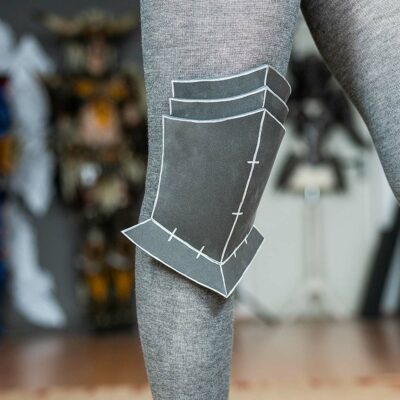
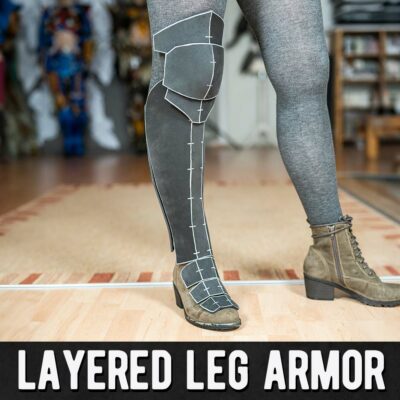
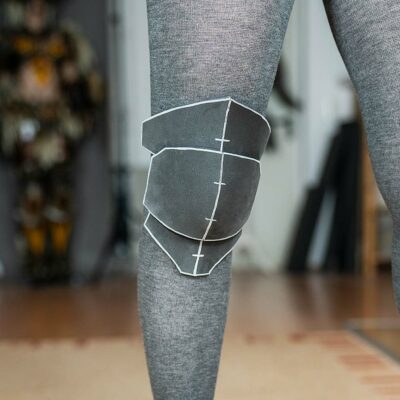
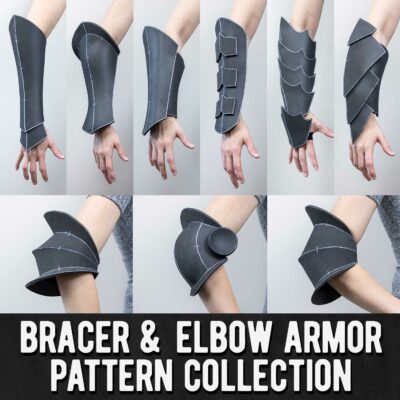
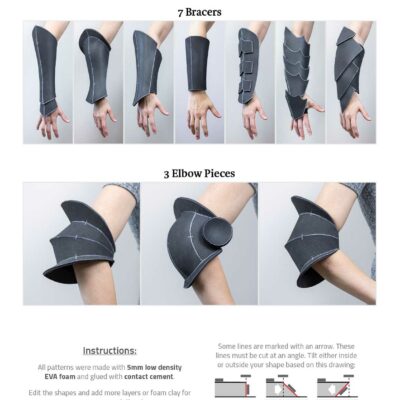
Another local shop has some perfectly fitting boots with some nice lacing and a nice, natural color. For the leg armor my husband Benni booted up Blender and created patterns that looked like straight out of Diablo IV. They are surely also useful for all kind of other projects though! Time was still running like crazy however and I had to craft with lightning speed! Luckily, I was able to finish almost the whole fabric part and huge chunks of the armor in just 5 days.
View this post on Instagram
All armor parts were simple 5mm EVA foam with some 2mm details on top. I’ve primed then everything with Flexbond mixed with black acrylics and dabbed a texture on top. The goal was to give all pieces more depth and the texture was a really nice, but easy to apply extra. Once everything dried, I then carefully added a silver shine with Rub’n’Buff.
If you are curious, I got all my products from a cosplay material shop in Belgium: Cosplayshop.be. However, I also made you a list with similar products you can find on Amazon as well! I also have a Tutorial Book for Foam Armor!
My main materials for the whole costume were the following:
And these were the tools I was using:
-
- Heat gun
- No products found.
- Dremel sanding tool
- Box cutter
- X-acto knife
- Airbrush set
- Painting brushes
- Sewing machine
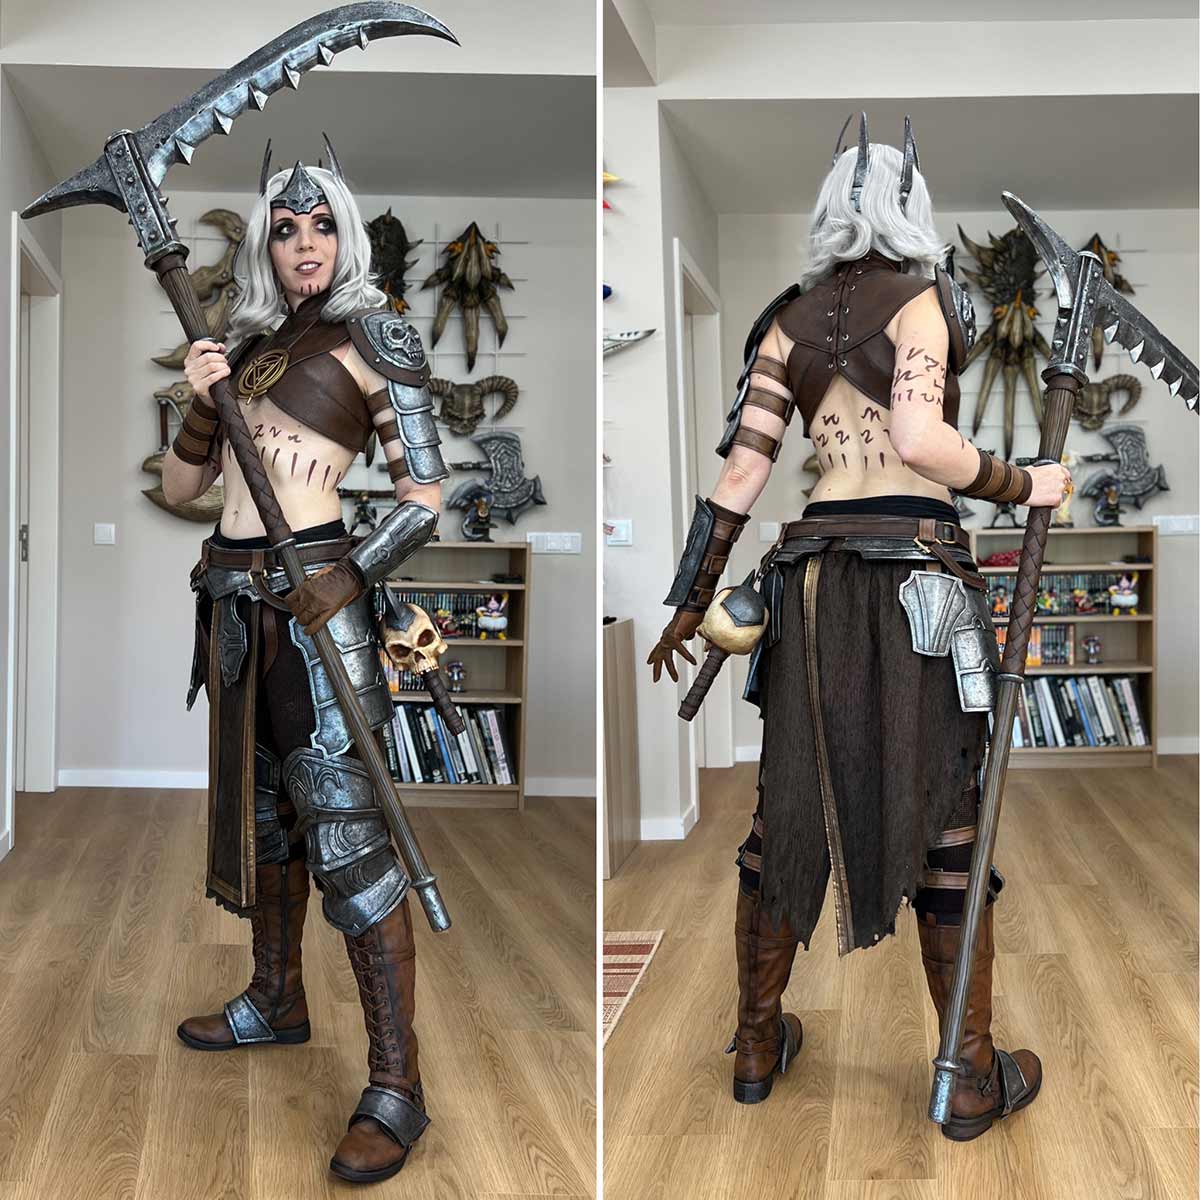
The costume is quite simple, but I already loved how it turned out so far. The dabbed on texture with an acrylic paste combined with Rub’n’Buff silver paint looked also really convincing. For attachments I’ve used mostly velcro and faux leather belts, which I glued directly into the armor. I also used a rough knit fabric, which I covered with some shiny acrylic paint to fake the chain mail pants. The skull was then 3D sculpted, printed and painted by Benni. I called him Wilson! If you are curios, check out our Book for 3D Printing and Sculpting!
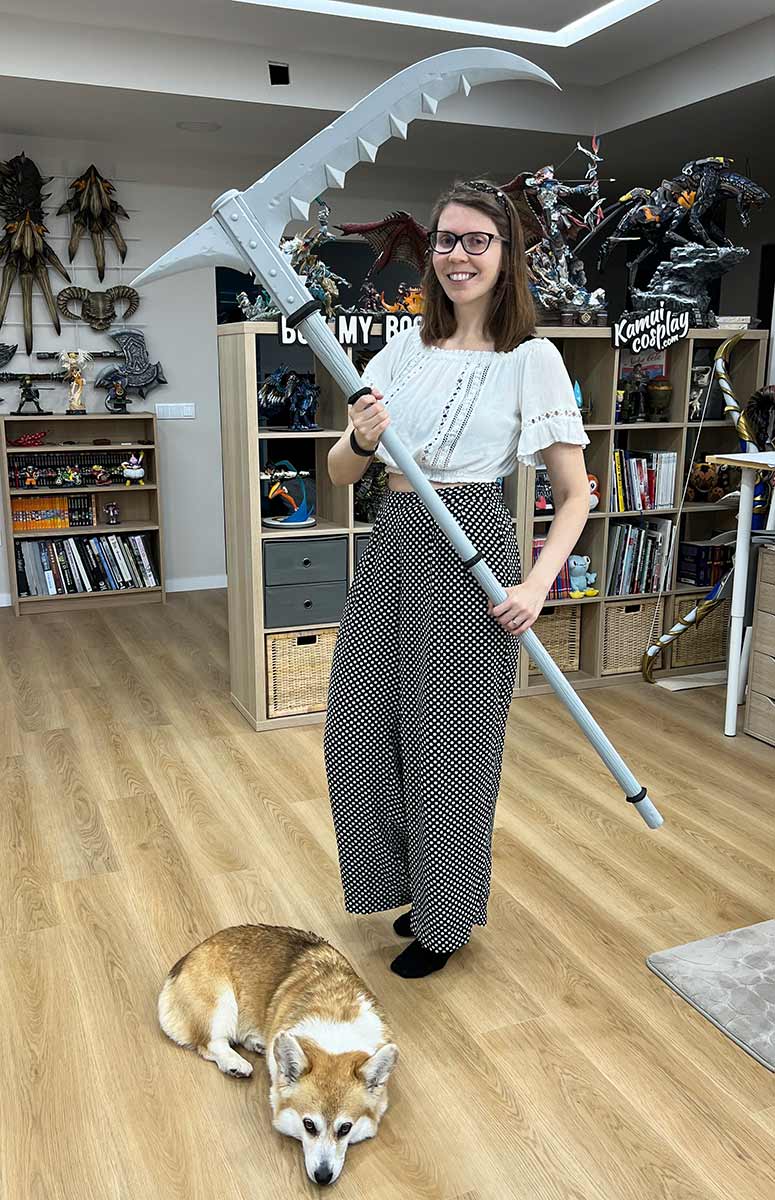
Next on, I made a detachable scythe in just 24 hours! I used PVC pipes in different thickness as a base and connected three different segments with magnets. Even though I don’t plan traveling with huge props, it’s just far easier to build, prime and paint smaller pieces than a massive, single cosplay weapon. Afterwards I’ve covered each part with a ton of foam and slowly created the shape of the scythe around it.
Well, and this was the final result! It was quite difficult to take enough photos of the whole construction photos, but you can find a full making of video on my Youtube channel. As mentioned, we were also in the middle of a move and we literally had crazy loud construction noise in the background while crafting. So, with these conditions calculated in, I’m actually really proud of the work Benni and I have done in just two weeks!
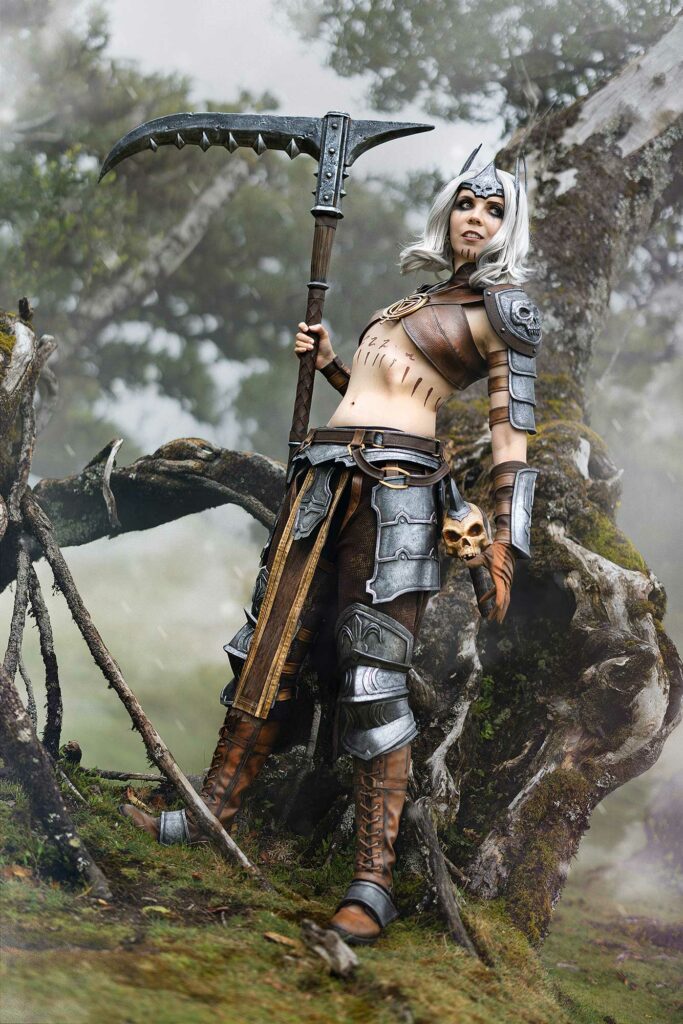
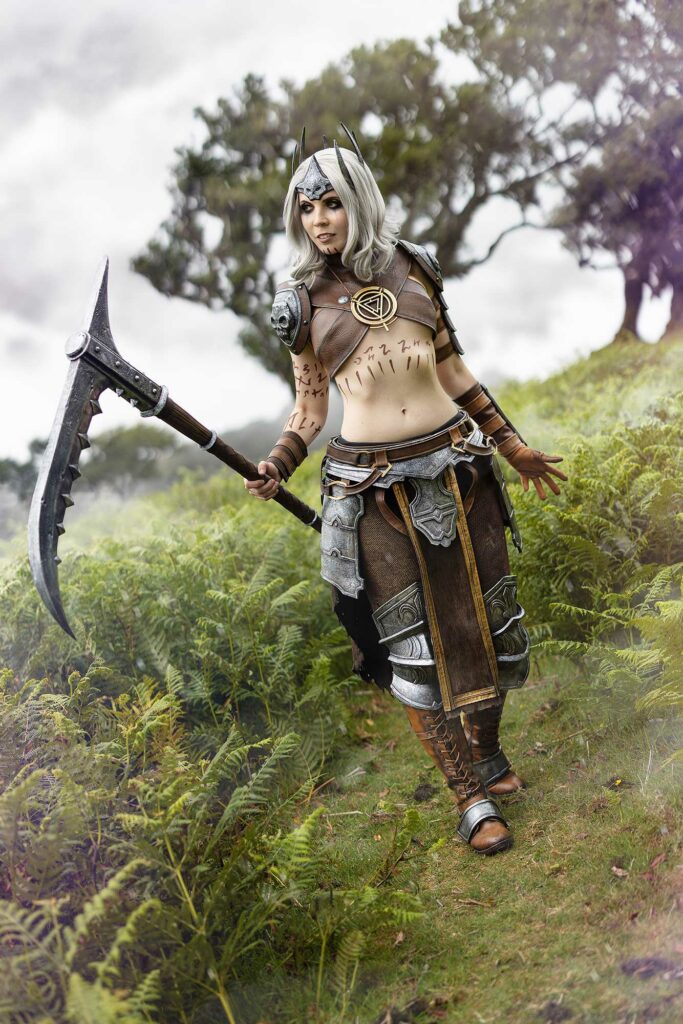
For the final photo shoot we went into the magical forest of Fanal here on Madeira. The Fanal Forest is a captivating and ancient laurel forest located in Madeira, known for its mystical atmosphere, fog-covered landscapes and up to 500 old trees. A place that looks straight out of Diablo and so perfect for my Necromancer cosplay!
The photoshoot was super fun and our dogs Zelda and Midna loved it as well. Sadly though, we didn’t had a lot of fog and Benni had to photoshop in a lot of it. Our equipment was Canon EOS R5 full frame camera with a 50mm 1.2f lens . We got it super fresh from Canon and it was a great opportunity to try out the new set.
Overall creating a Necromancer cosplay from Diablo IV in just 2 week was a great memory and an amazing project. Yes, it was very stressful and yes, it would be probably easier just to build one weapon. At the end though I’m happy that we accepted this challenge and were able to create something we are truly proud of in such an short amount of time!
We use Amazon Affiliate links. If you buy something we might get a small commission. Thanks for your support! Learn more.






This outfit is truly impressive. I like it very much
The makeup is extremely detailed and amazing.