
The gorgeous work of Wei Wang
As a pretty obsessed Druid player (I already created 6 Druid Tier sets from World of Warcraft!), there was always no option for me to create a cosplay of a different class. However I admit that I always had the wonderful artwork of Wei Wang in mind. Well, and then the day came, when I was not able to see any more robes, any blue spike ears and any bodypainting. It was a day when I changed my class!
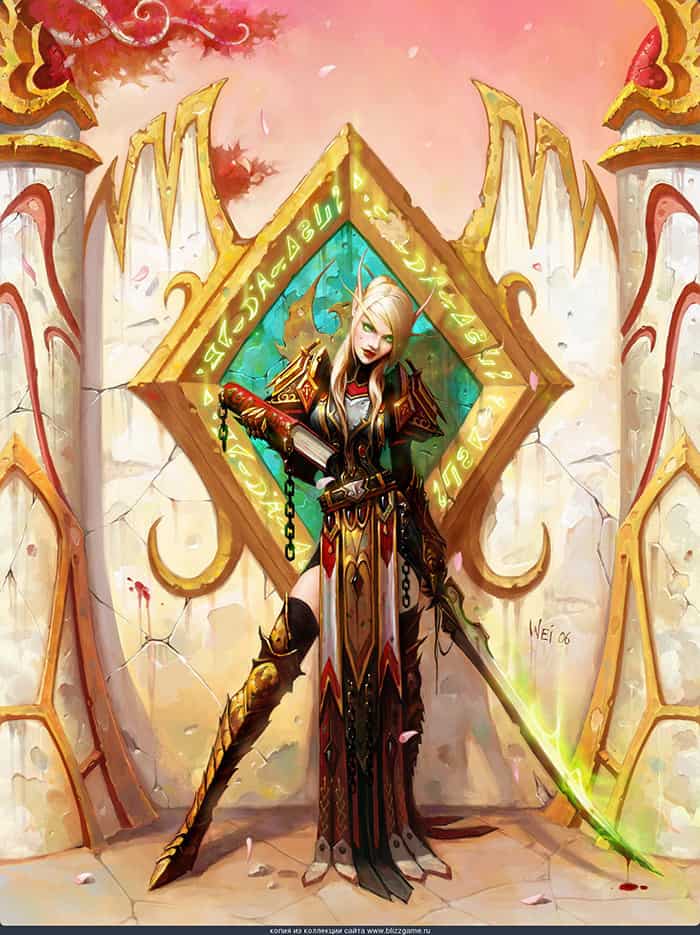
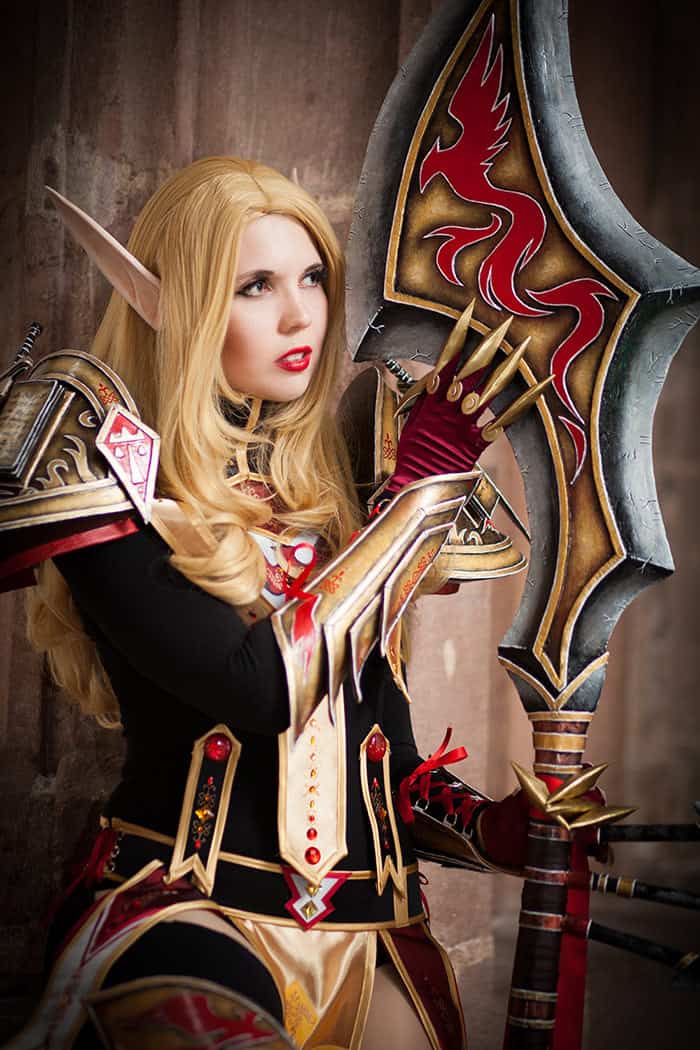
But yes, Wei Wang aka Glowei made it pretty easy for me to change my mind an to try something new. I not only loved the design of the Paladin Judgement armor, I also really linked the very femine but powerful Bloodelfs a lot. And I just finally wanted to create a pretty German costume finally: A costume in Germany’s flag colours black, red and gold, ha ha!
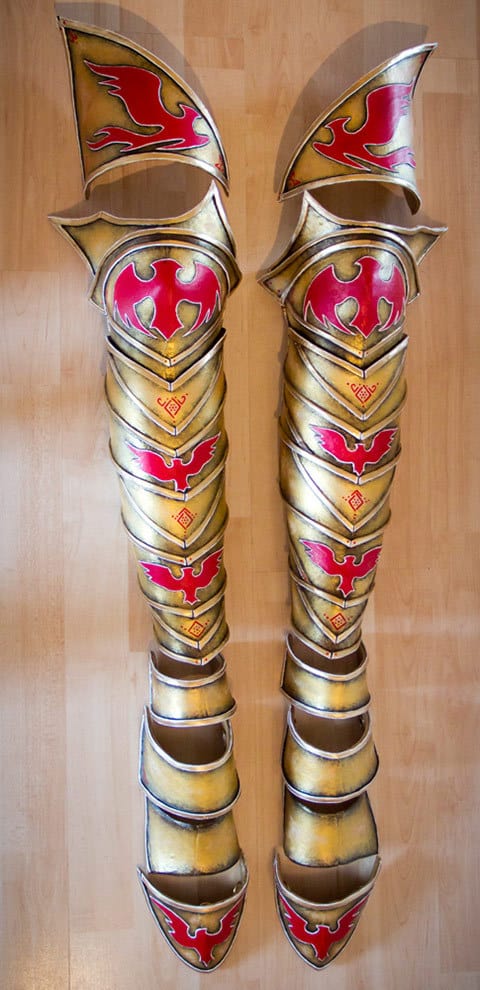
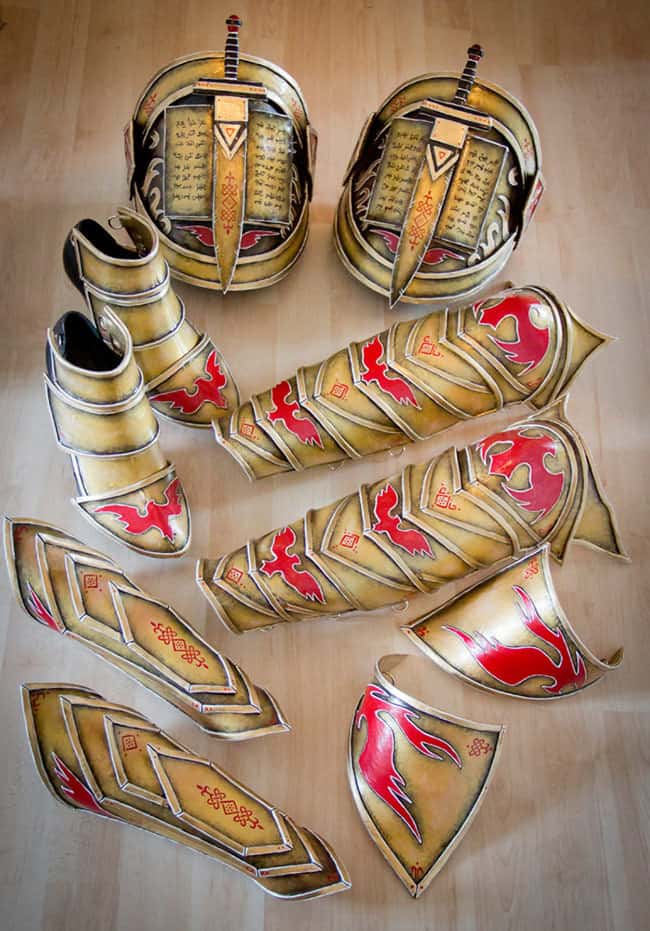
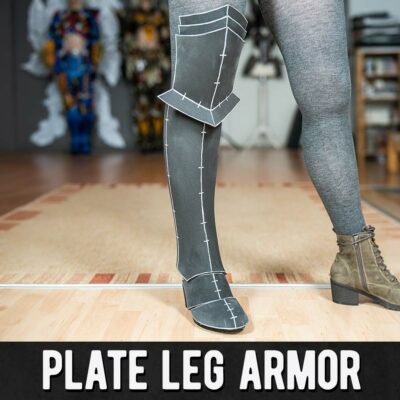
Creating the leg armor wasn’t easy!
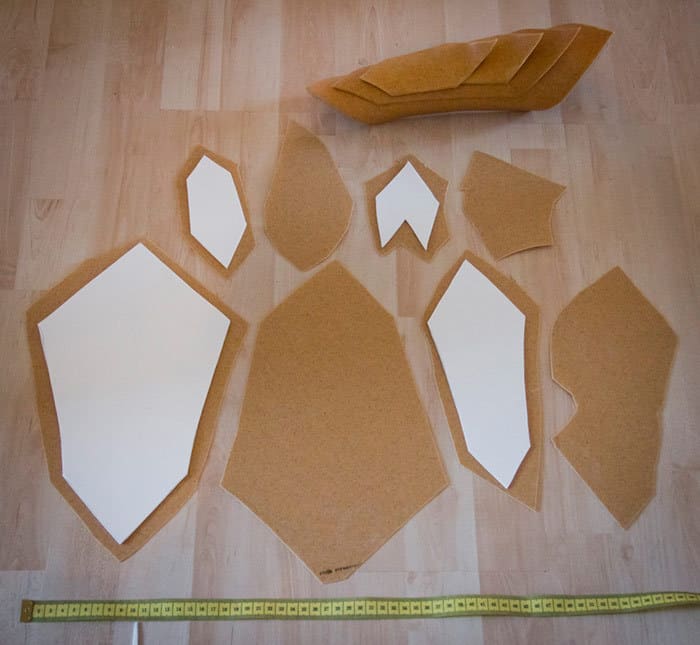
First step of my project was to build some of the biggest armor parts, the shin armor. Since they consisted of so many different parts, it was anything but easy to make them perfectly fitting. But after I’ve created a good pattern for the armor, I just shaped the pieces directly on my legs and was ready to add the details. You might want to check out my Book Cosplay Armor Making if you want to learn this stuff!
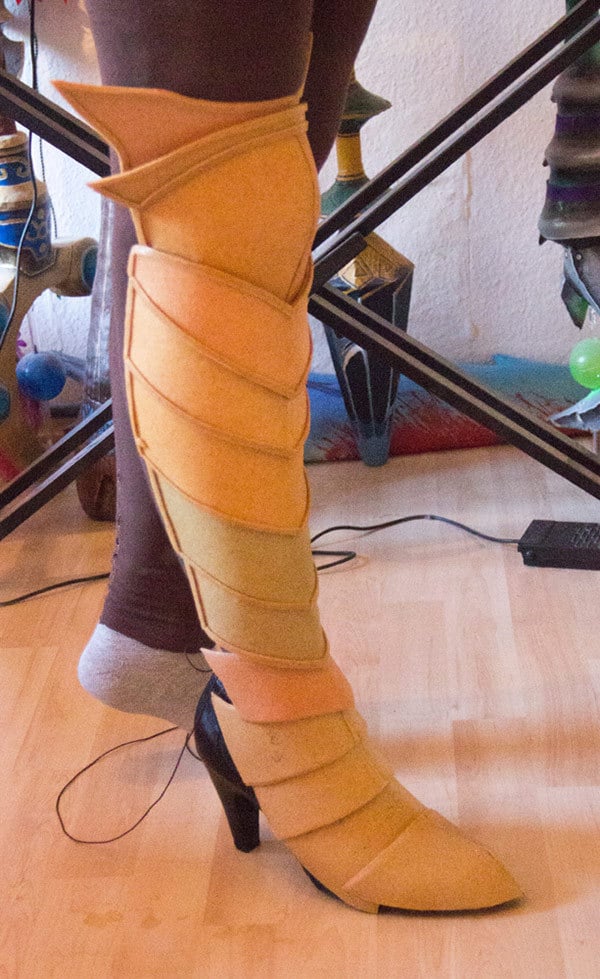
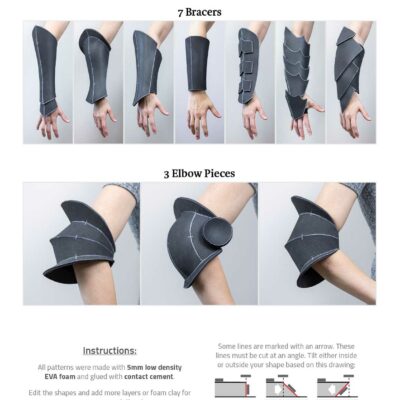
Since the shin and the shoe armor had so many pieces, it cost really a lot of Worbla (the material I use for my armor) to finish them. In total it took around 4 sheets of Worbla for the whole costume. Luckely I always have some sheets of this material at home, so I’m always able to keep on working without any forced break. However if you plan to build an armor for yourself you can calculate the amound of material just by following the image below: Create your armor patters like in this Youtube tutorial before you’ll start and then multiply those patterns by a bit more than twice.
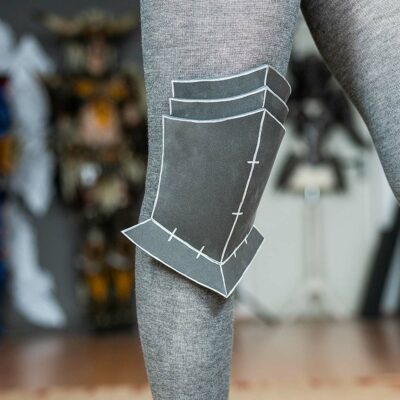
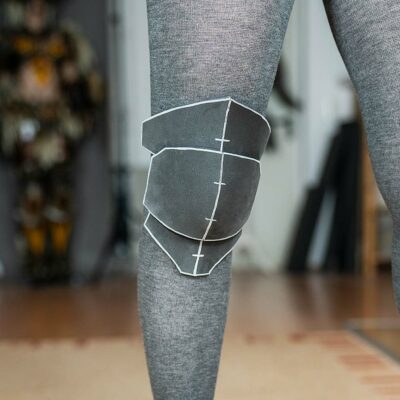
As you can see, it also took some material to add the final details to the armor. Since the reference was not completely clear, I choose to add my own personal touch to the costume and not just to follow the reference blindly. So I’ve designed several shapes of the phoenix (which is also used a lot for Bloodelf designs) and added them on different parts of the armor.
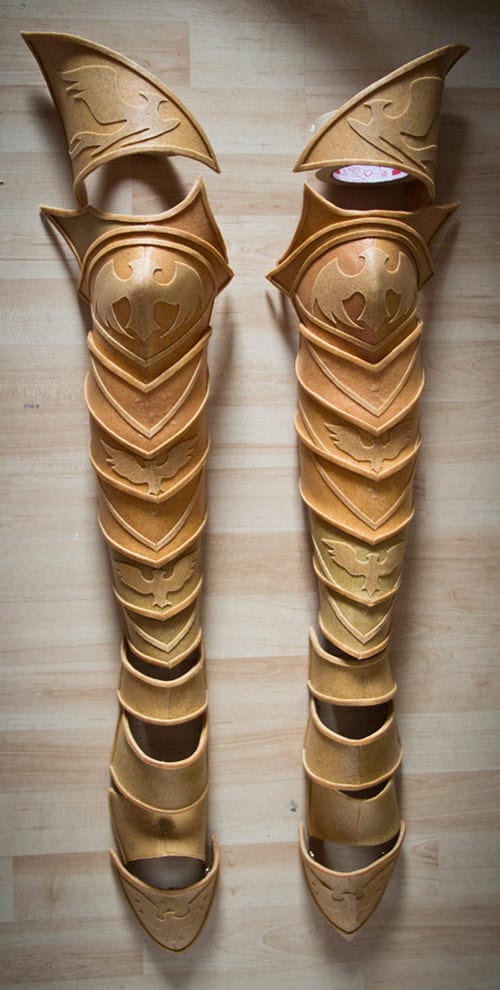
The final paint job was pretty simple: I tried to give the armor not only a nice, shiny look, but also an antique and noble one. As always I’ve used simple acrylics for this work step.
Next step: The pauldrons!
Now it was time for the complicated part. Since building the shin armor was pretty easy, the pauldrons were really a challenge. In the past I’ve worked a lot with styrofoam and expanding foam. Sadly though, all these materials were not durable enough and pretty breakable. This time I wanted to make something very solid and which I’m still able to wear in 10 years. So after a few experiments I’ve decided to use Worbla also for this costume part. To get the basic form of the pauldrons I used a piece of foam which I’ve used a cast. In the detailed progress history on Facebook you’ll find all the different steps.
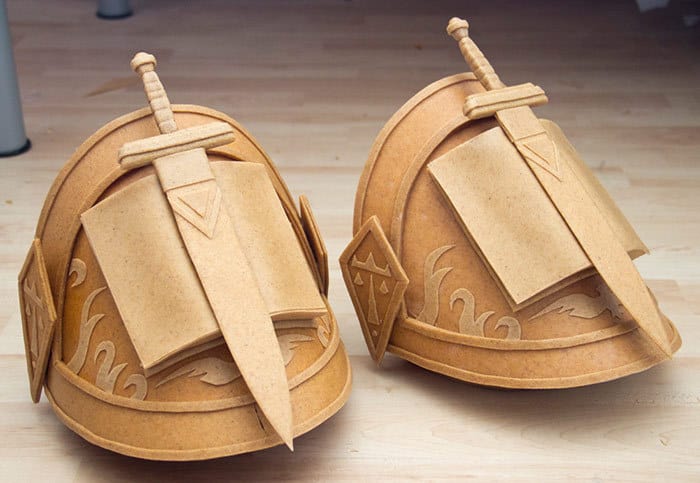
At the end I was really satisfied with the final shape, but especially the paint job made them something really nice.
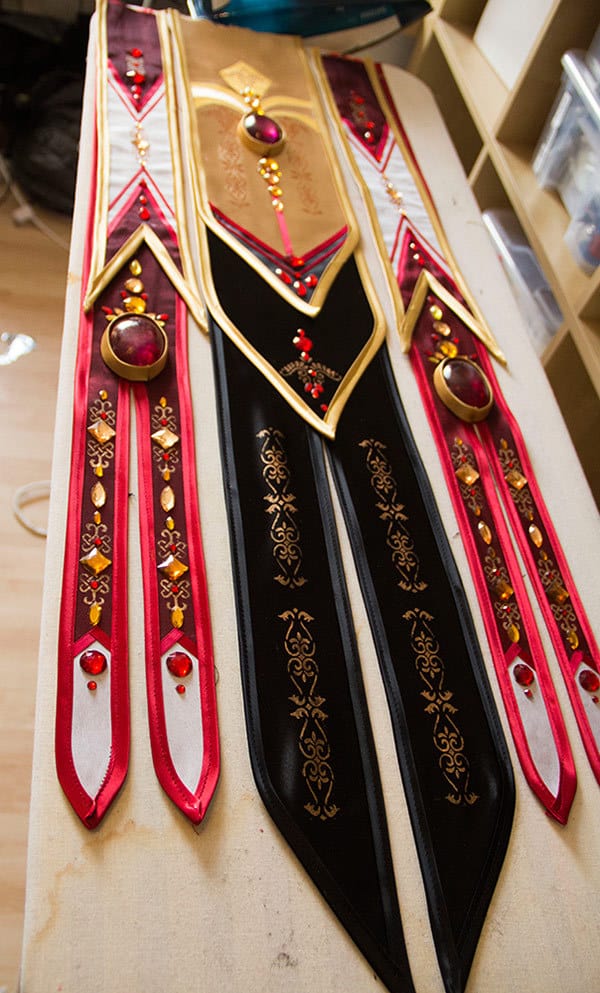
Let’s make it shiny!
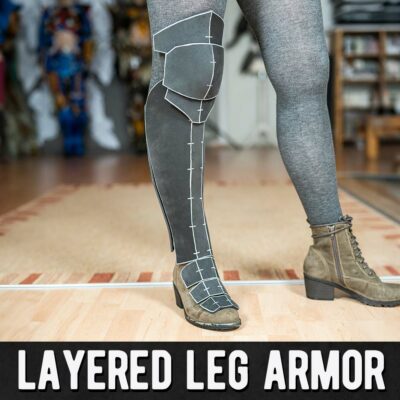
At the end only the fabric part was left and then it was time really to go crazy will all the shiny stuff! Since the reference was so blurry and unclear I added again some own ideas and a personal touch but always tried follow to the idea of Wei’s artwork.
Well… and then it was time to put the costume together. Moments like this are always very exciting for me and especially the first minutes in the costume are just awesome.

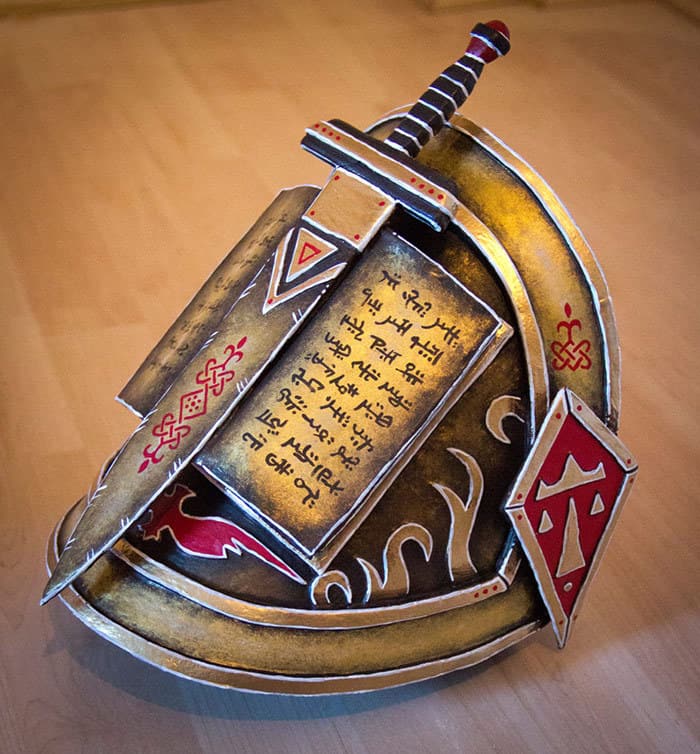
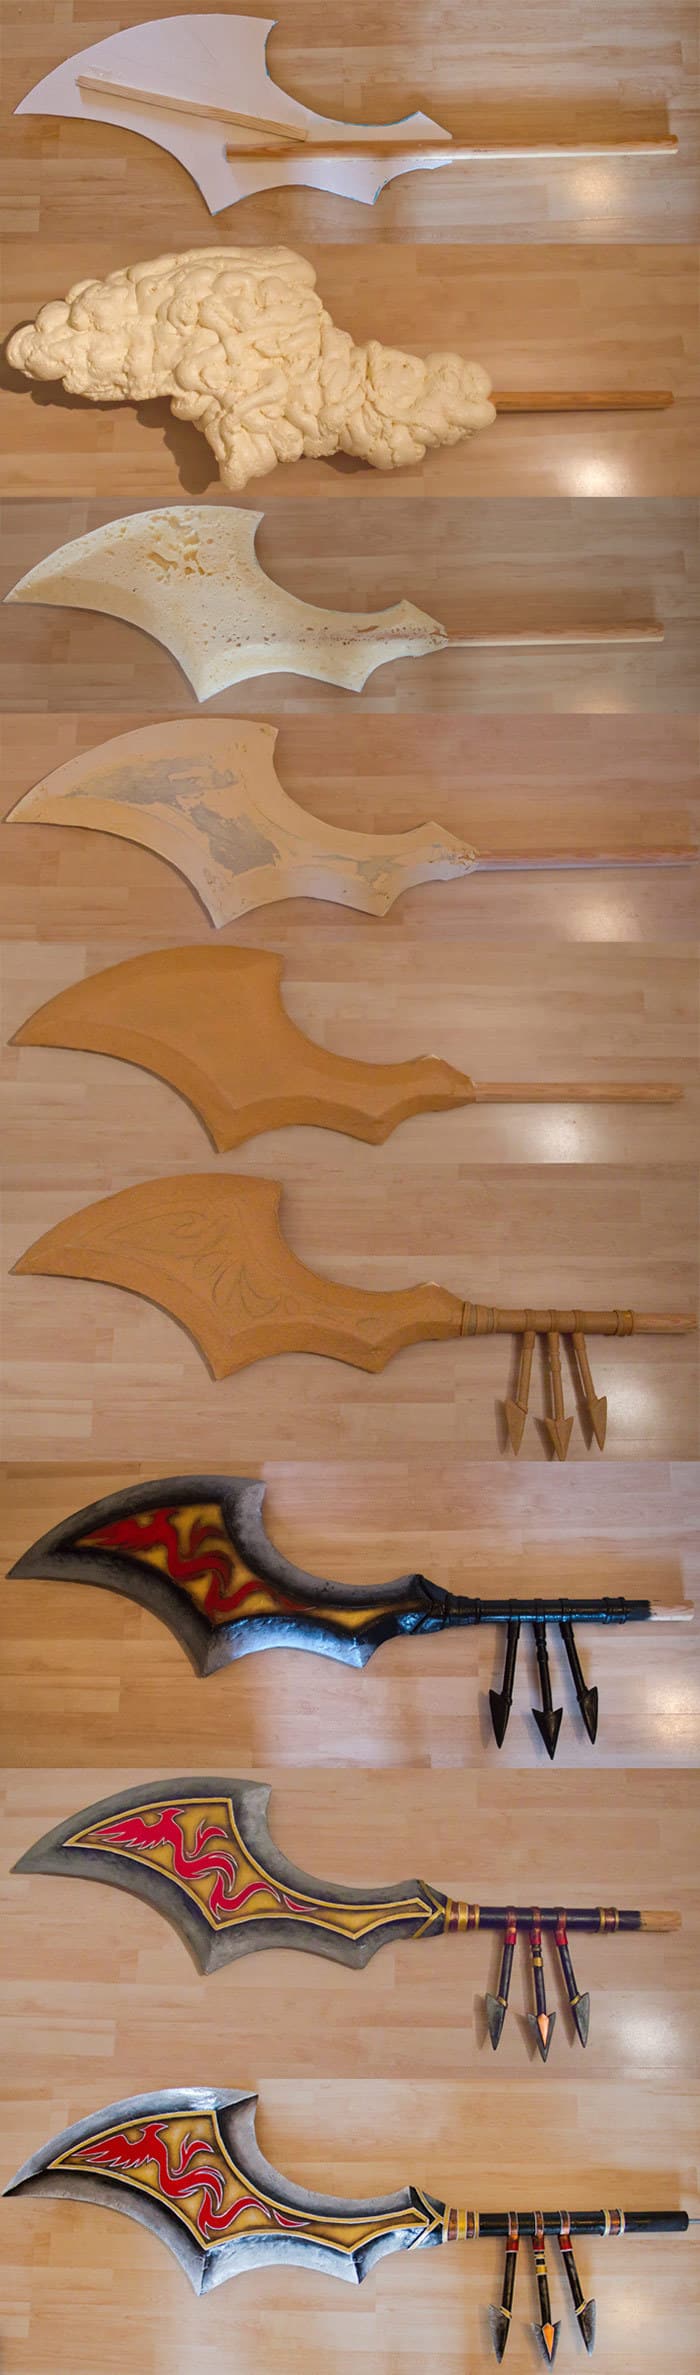
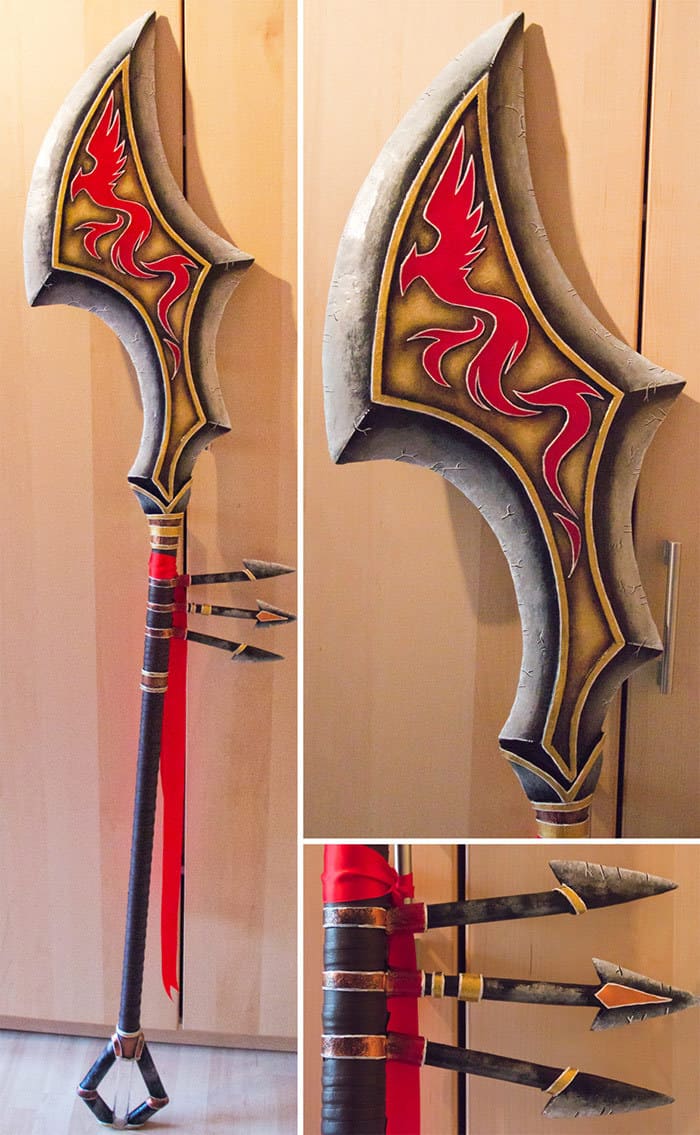
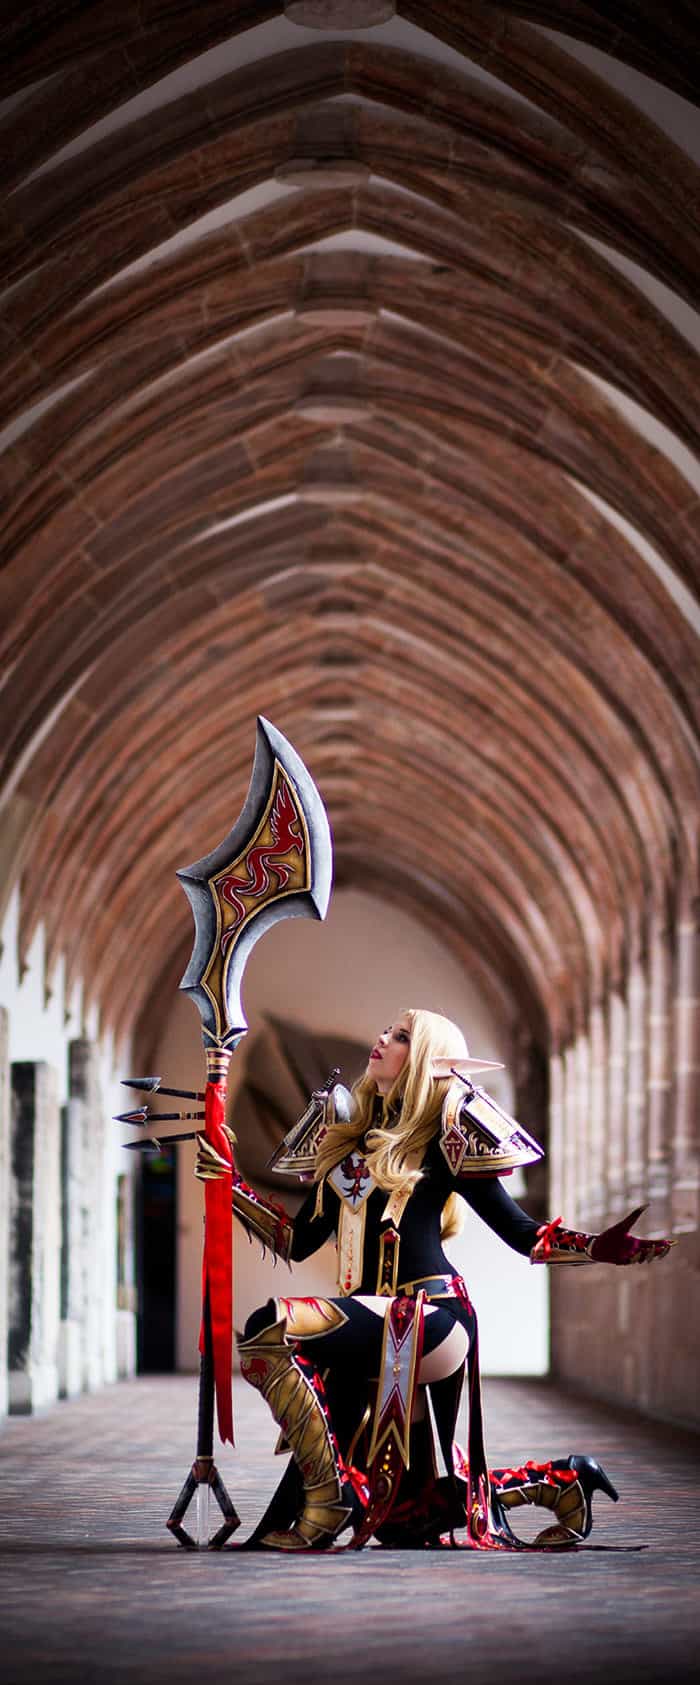
A mighty weapon for justice
Now it was time for the weapon. I really had a lot of ideas in mind and especially Ashbringer didn’t want to leave me alone. However I always want to create something new, something nobody saw before and since Ashbringer was already brought to life by the Chris White, costume contest winner of Blizzcon 2011, I decided to go with Halbert of Smiting.
In the past, the most of my props were made of breakable foam and paper mache. However, after I’ve changed my technique for my pauldrons already, it was no question to do the same for the polearm. As you can see, I used foam as a base like most of the time. This time however, I’ve worked with Worbla and putty to make it as durable and solid as possible. In addition it’s really easy to add details with Worbla! So, took only three days to build the piece and three additional to paint it.
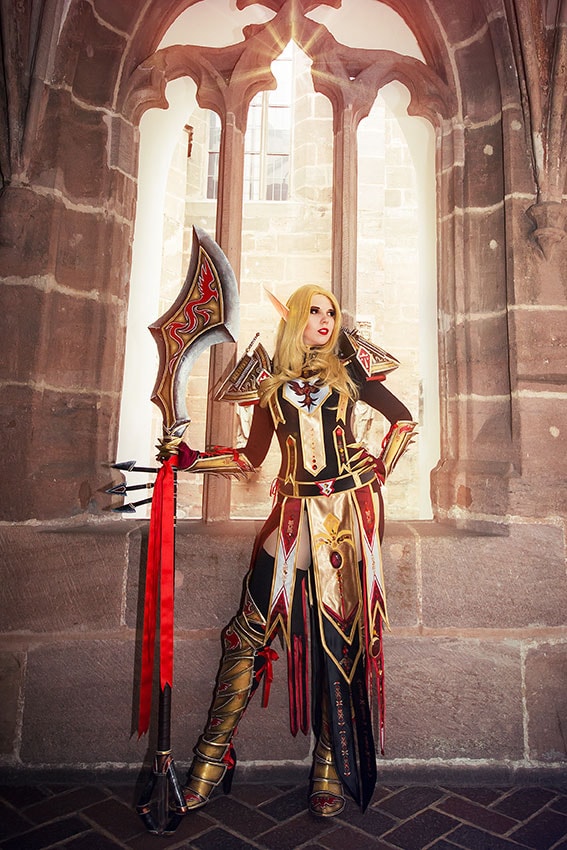
The Scarlet Monastery
Well… and after a long search for a good location, it was finally time for the photoshoot. Luckily my own hometown Nuremberg had a building which looked exactly like the Scarlet Monastery. In addition my photographers from Hemlep Fotografie made an amazing job! Additionally, I was in charge for the photo editing I had even more fun to bring my Paladin to life.
Well, and that’s all so far! I really hope you like the result of this project! Cannot wait to show you my next one! See you soon again!
And if you want to read more and follow my current projects, just check out my Facebook progress page!


wow, this aromour is beyond awesome! simple is the wrong word but clean might seem more correct, looks totally awesome, every detail is on the spot! (tho i have to say the weapon does not match exactly, to many round curves) I do not play WoW and havent done for atleast 10 years so dont know anything about the source materials but it reminds me of a female templar with some elements of warhammer lore, you should have made a sword instead i think :P
the undersuit is awesome too!
I there any possibility to see all of the shots/pictures, especially standing? i draw a little bit and would like to use them as source materials if it’s ok with you? i wont sell anything or print it and so on, just in my own sketchbook, not even digital :)
Thank you for making such a awesome suit, and dont worry i understand if you want to keep your creation for yourself!
/Kalle
Ribbons are a cute detail, all in red. I really like this armor and the photos are superb. Makes me wonder what you will do next o.o?